How-to
How to set up your Brewstamp shop in 5 minutes
You've created your shop, now what? This is the practical, click-by-click walkthrough to get from sign-up to your first real customer stamp without guessing what to do next.
Published
The whole flow in one paragraph
Print the QR code, stick it at the counter, keep your dashboard open on a device near the till, scan the code yourself once to see what a request looks like, then approve real customers as they scan. That's the entire job. The five minutes below walks through it cleanly.
1. Download and print your QR code
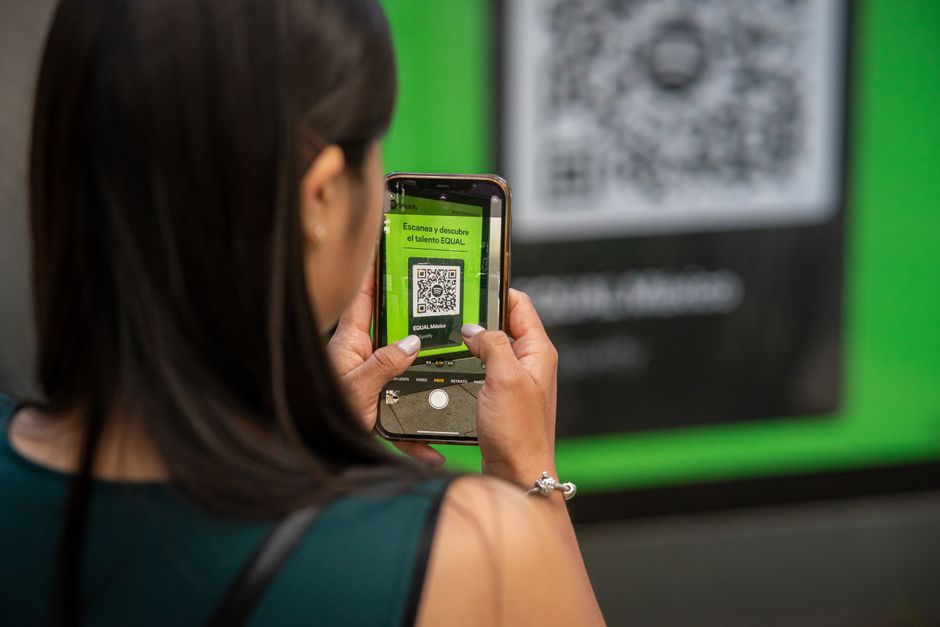
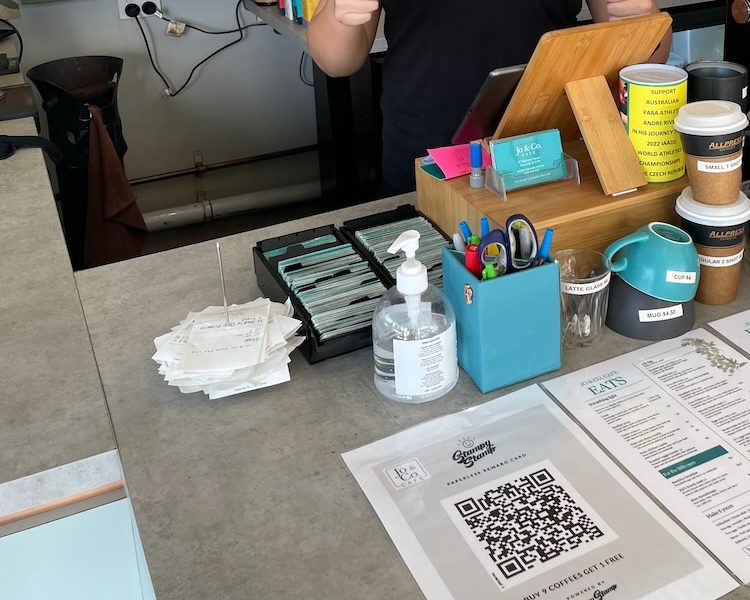
Open Settings from the sidebar. Hit Download QR code— you get a printable PDF with your shop's unique code on it. Print it on regular paper. Stick it on the counter, the menu, the register — somewhere a customer can't miss while they're waiting for their drink.
Pro tip: the spot matters more than the size. Right next to the EFTPOS machine (where the customer is already looking down at the counter) gets the highest scan rate.
2. Keep your dashboard open at the counter
Brewstamp is real-time — when a customer scans, a stamp request pops up on your dashboard instantly. So your dashboard needs to be open somewhere you can see it. A tablet at the till is ideal; a phone in your apron works too.
Each request is live for 10 minutes. If you're mid-coffee and one comes in, finish the drink and tap Approve— you have plenty of time.
3. Run a test stamp on yourself
This is the step most cafes skip and then regret. Before your first real customer scans, run the flow once yourself so you've seen what an approval looks like:
- 1Open your QR code on the printed sheet (or pull it up on your dashboard's Settings screen).
- 2Point your phone's camera at it. Tap the link that appears.
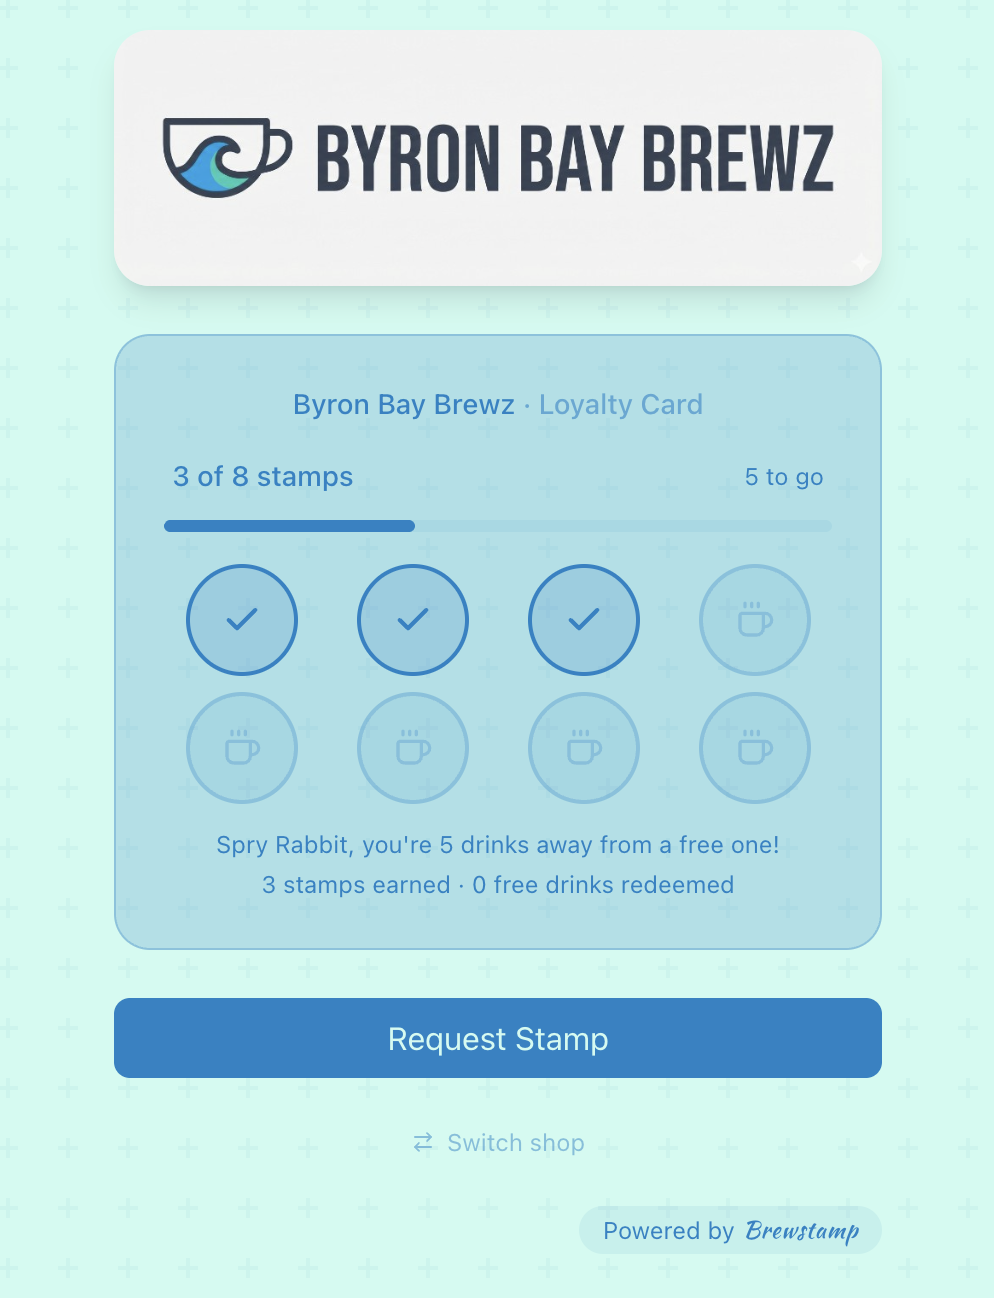
- 3Complete the customer flow on your phone — name, hit the big stamp button.
- 4Switch back to your dashboard. Within a second or two, a stamp request will appear. Tap Approve.
- 5On your phone, watch the stamp land on the card.
Now you know exactly what a real customer scan looks like. When the next request rolls in, you'll approve it without hesitating.
4. Award your first real stamp
When a real customer scans the QR code at the counter, a request appears on your dashboard exactly the same way the test one did. Tap Approve. The stamp lands on their card instantly. Done.
If a customer tries to scan a second time for the same drink (it happens — a friend wants in too, kids playing with the code), just tap Reject. Nothing breaks; the request quietly disappears.
5. What to do next
- Tell your regulars. Mention the loyalty card to your existing customers as they pay. One sentence: "We've got a loyalty card now — scan that QR code, after 8 coffees the next one's free, no app needed."
- Customise the card. From Settings you can change the card's colours, upload a logo, and set the stamp threshold (6, 8, 10 — whatever fits your margin).
- Watch the Customers tab. After a couple of weeks you'll see who your most loyal regulars are. The data was never visible with paper cards.
Stuck on anything?
The two most common stuck points: not knowing the QR code is printed too small (re-print at A4 if scans are failing), and not having the dashboard open at the till (the request goes somewhere, but you don't see it). Both are easy fixes.
Anything else, email [email protected] and Mark will reply directly.